
Fluffy, soft and buttery.
That’s how I’d describe these dinner rolls and the fact that they are dairy free, makes it an even bigger deal.
Keep reading to learn how to make these so you can enjoy fresh homemade bread bread anytime you want.

Warning: These do not last longer than a 2 days in my house, with just 2 adults! With a tender crumb and a hint of sweetness, it’s not hard to see why these are so enjoyable – with a pat of butter or jam or alongside a cup of tea – even all three.
What ingredients do you need?
Bread Flour – This is the only flour I have used in this recipe but if all you have is all purpose flour, it will work as well.
Sugar – This helps largely to feed the yeast but I use a little extra to give it a hint of sweetness.
Active yeast – I typically use active dry yeast but instant yeast also works. If you use instant yeast, the rising time may/will be shorter.
Plant-based milk – I like to use unsweetened Pea milk like this one but soy milk will also well.
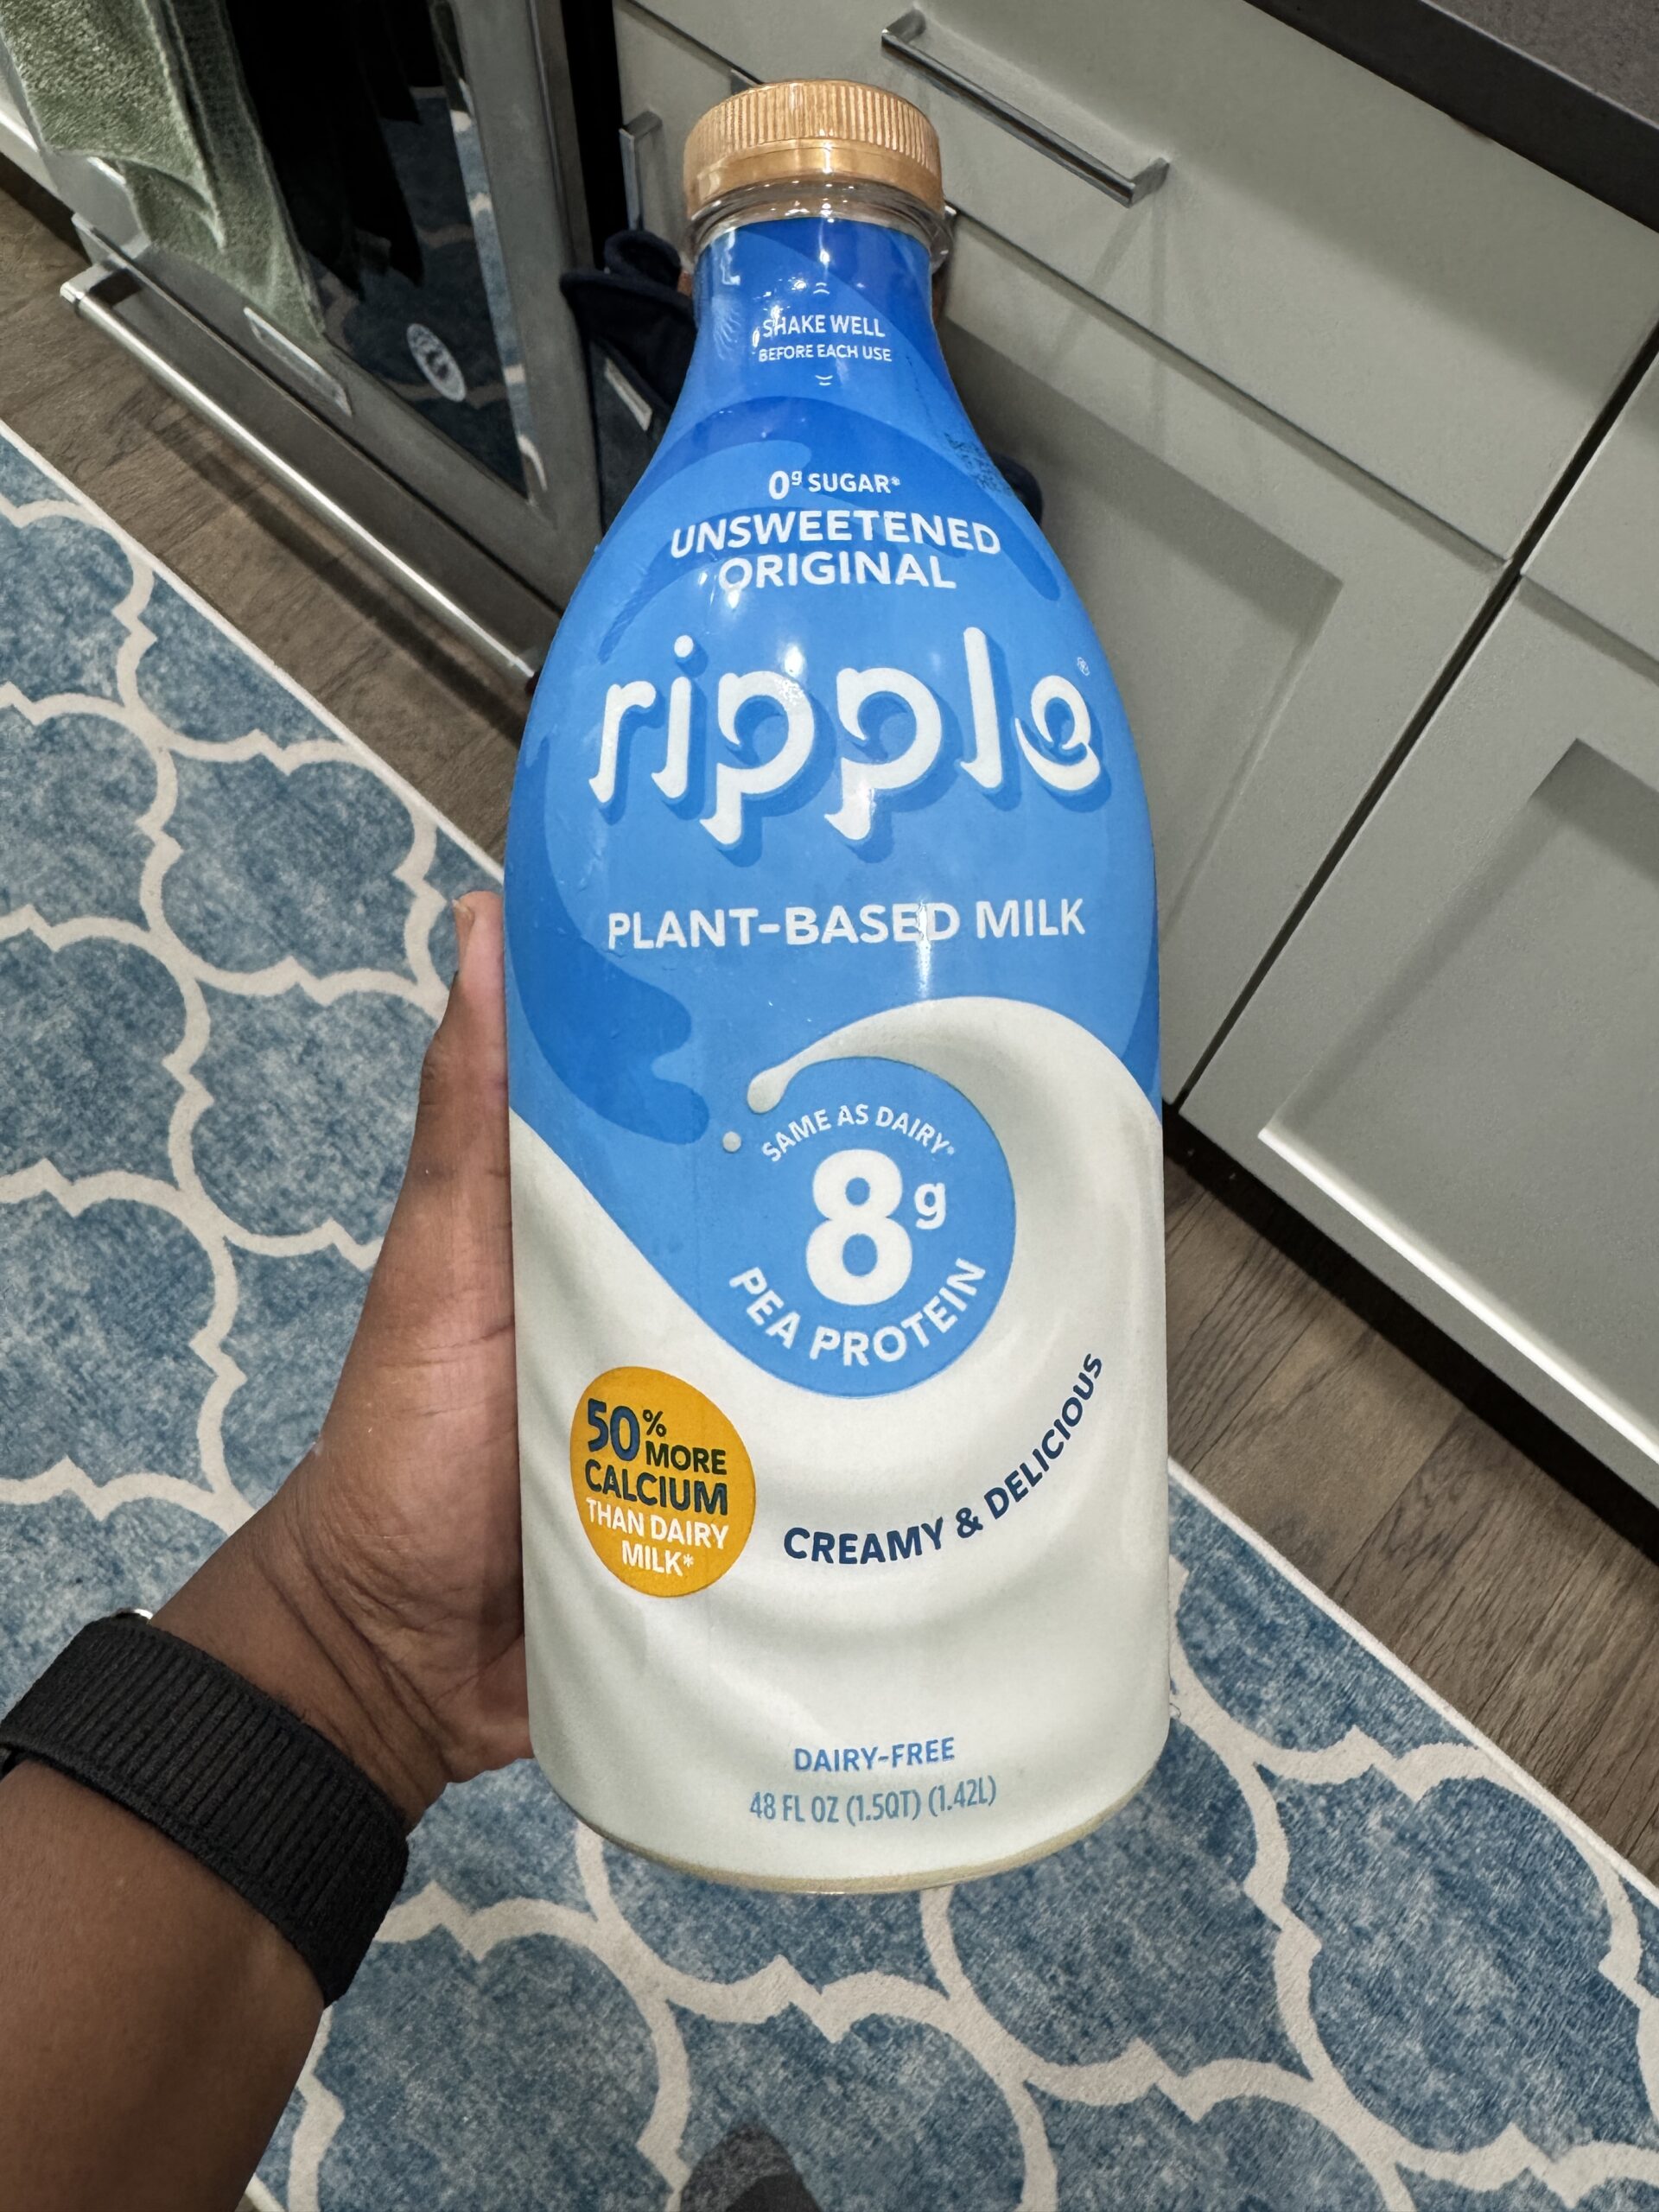
Plant-based butter – Any plant-based butter that is good for baking will work. This is the one I use. Make sure it’s soft or room temperature but not melted!
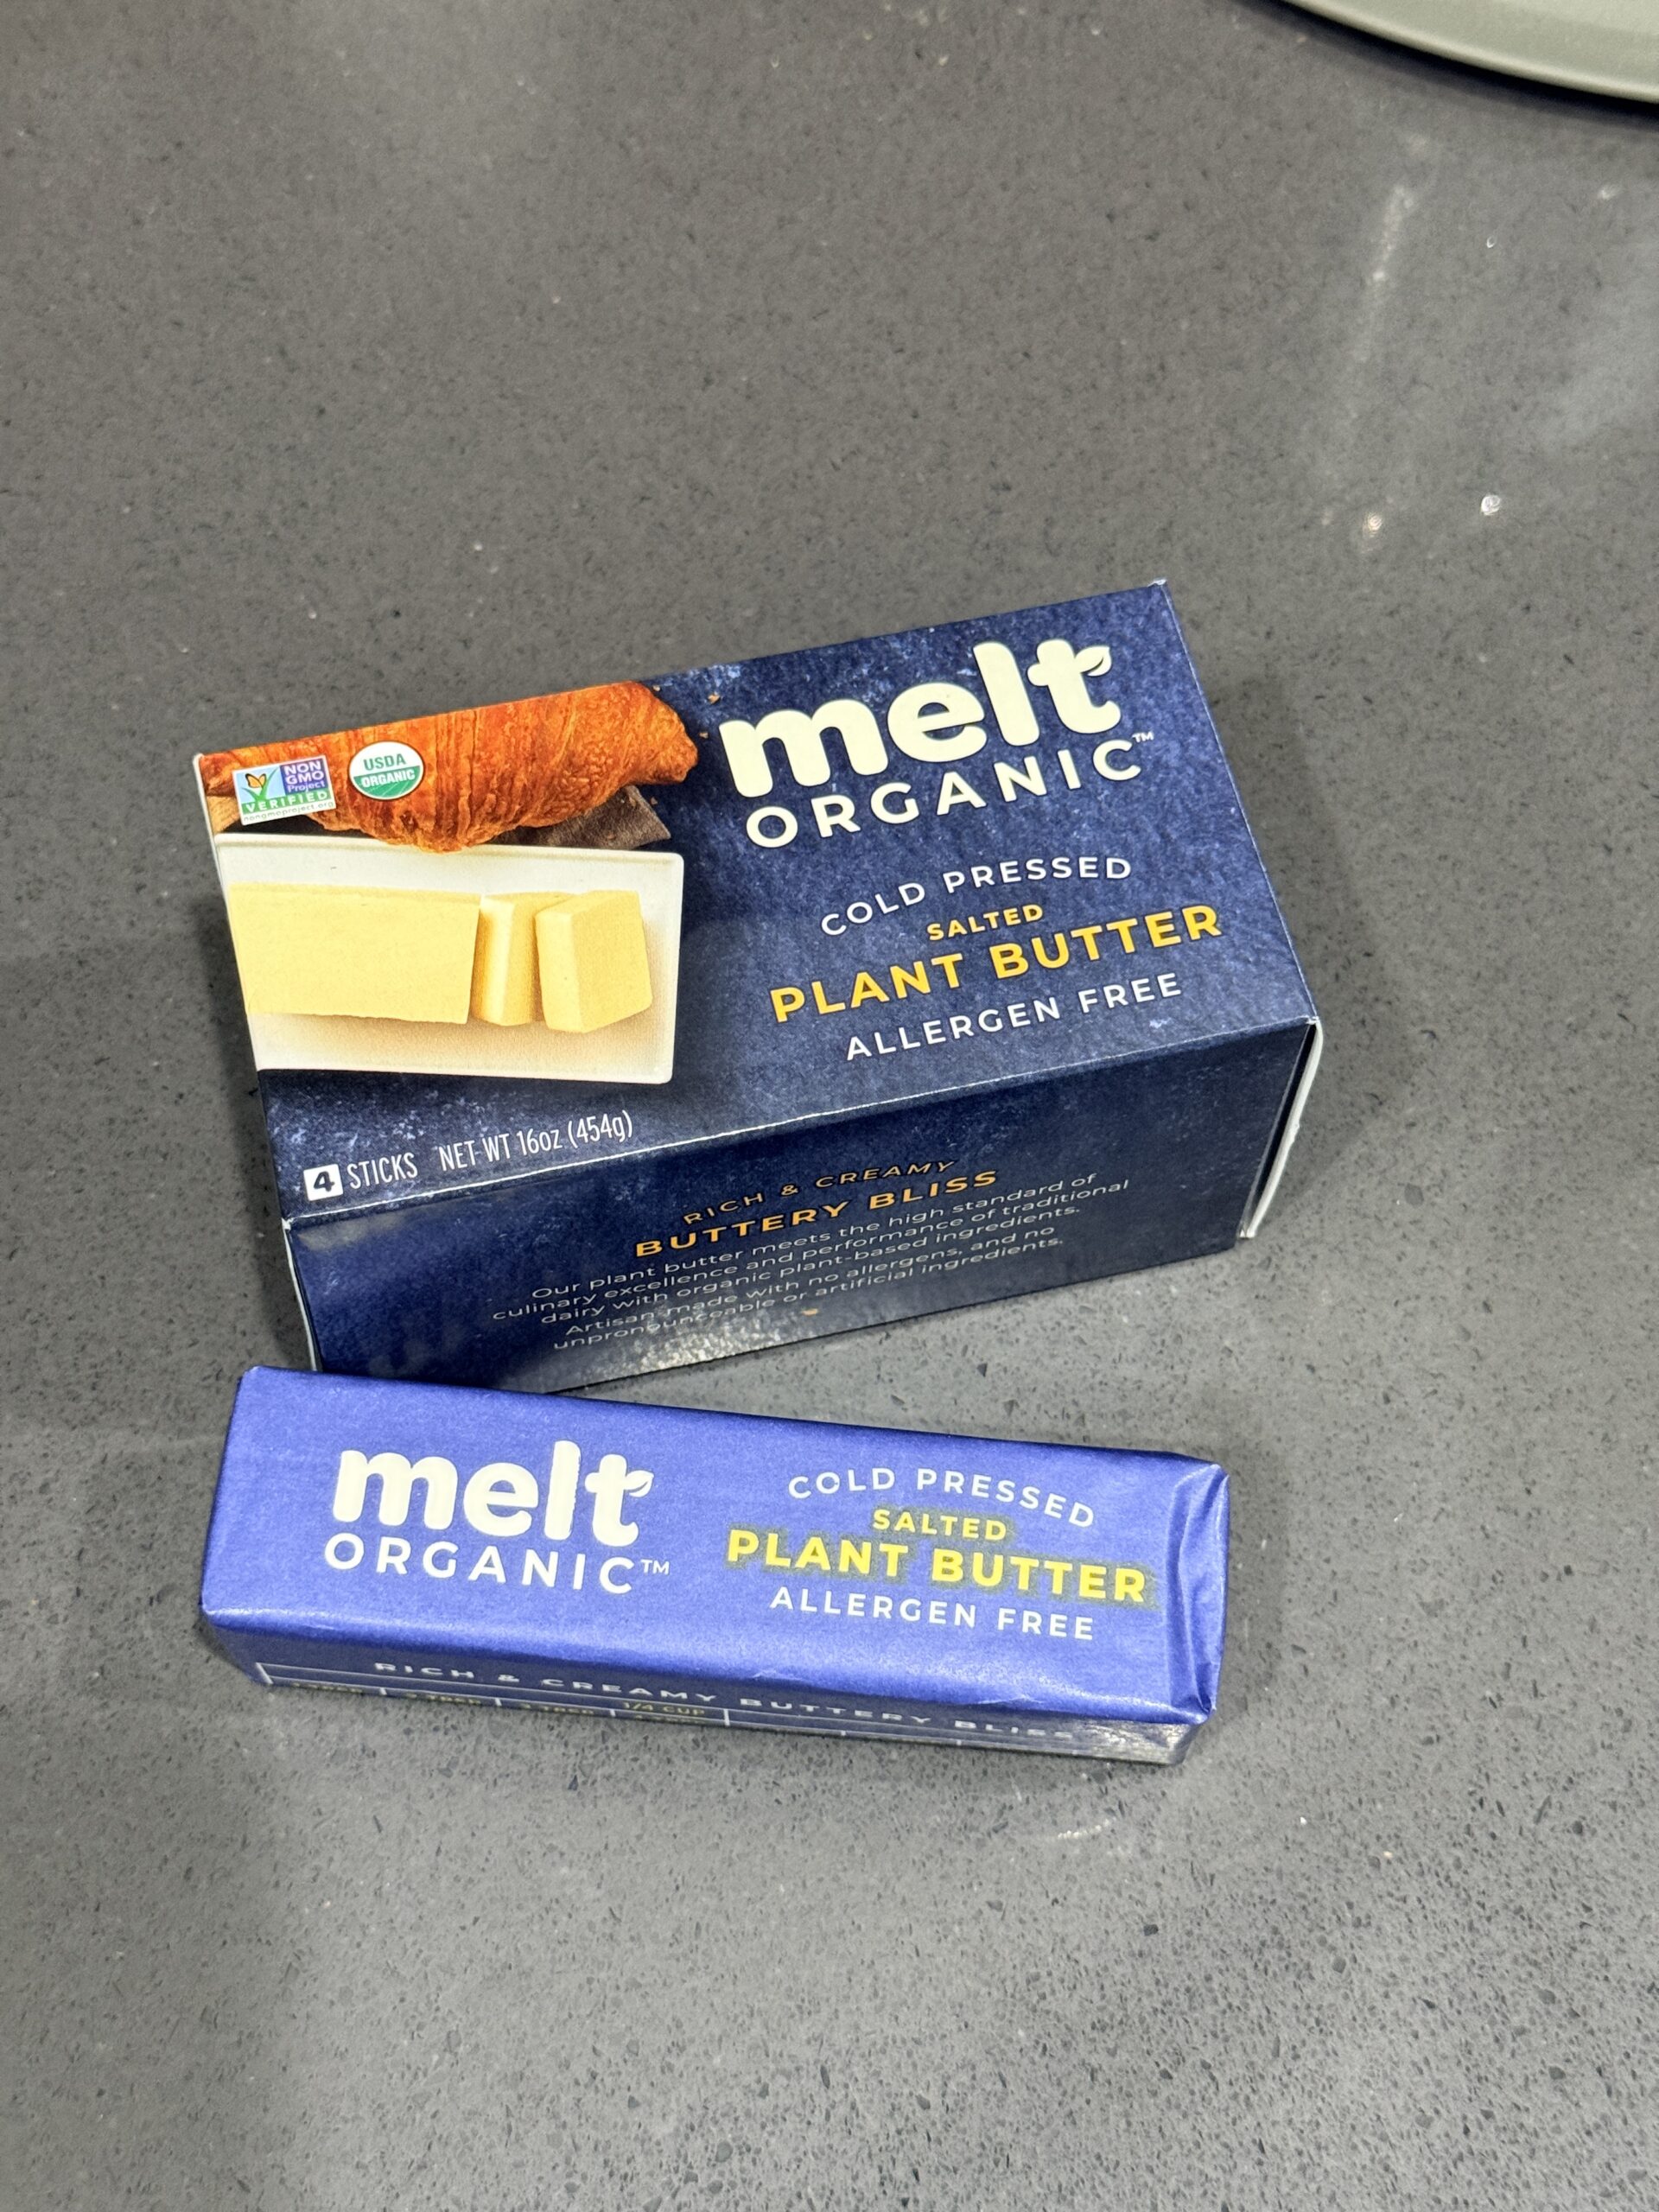
Egg – The egg helps to give the bread structure, flavor and some of that golden color. This recipe is dairy free not vegan.
Salt – If you want your bread to have a balance of flavor, you need salt!
Step by Step: How to make dairy free dinner rolls.
1. In the bowl of standing mixer, activate the yeast by mixing yeast, some of the sugar and the warm milk (around 110°F). Cover for 5-10 minutes until foamy.
2. Whisk flour, remaining sugar and salt together then add to yeast mixture, along with 1/2 the egg. Using the dough hook attachment, mix together until there are no dry flour spots and dough looks shaggy.
3. With mixer running, add butter piece by piece until incorporated then continue kneading for about 8 minutes until a smooth dough forms and it pulls away from the sides of the bowl. The dough may look sticky for much of the mixing time but eventually pulls together. If it’s still sticky after 8 minutes mark, continue kneading a little longer (up to 10 mins), until the dough becomes smooth and pulls away from the sides of the bowl.
3. Roll the dough into a smooth ball then place in a greased bowl, cover and let rise in warm spot for 1 1/2 hours.
4. Dough should be doubled in size and puffy. Punch or press down the dough to deflate it.
5. Divide the dough into 9 (or 12) pieces, depending on how big you want your rolls and roll each one into a ball. See video below for demonstration.
6. Place rolls in a greased 8×8 baking pan or dish. Cover with plastic wrap or a kitchen towel and let them rise for another hour. Preheat oven the last 15-20 minutes of rising time.
7. Using a pastry or silicone brush, lightly brush the top of each roll with the remaining beaten egg.
8. Bake for 22-25 minutes until golden brown.
9. Remove from oven and immediately brush with butter. Then let cool in pan for 5 mins before moving them to a cooling rack.
10. Tear off a roll, dab on some butter or jam or enjoy as is!

Tips for Success
- Using softened vegan butter. This recipe calls for softened vegan butter rather than room temperature because at room temperature it tends to be almost melted. I’ve tested this with almost melted butter and while the bread still came out well, it doesn’t work well with this process, particularly for how and when the butter is added. If your butter is almost melted, you could add it when you add everything else and just knead. If you do this, you may need to knead the dough for longer (up to 15 mins).
- Using active versus instant yeast. Be sure to activate your yeast in warm milk when using active dry yeast to ensure a proper rise of your dough. You can skip doing so when using instant yeast.
- Ensuring the right environment for proofing. If your kitchen is cold, like mine is, create a warm space in your oven to ensure your dough will rise properly. I use my oven’s ‘Proof’ setting to create the perfect temp for proofing bread but if yours doesn’t have such a setting, simply place the dough in your oven with JUST the oven light on. This creates enough residual warmth for your dough to rise.

Dairy-Free Dinner Rolls
Equipment
- 1 Standing mixer with dough attachment
- 1 food scale
- Measuring cups and spoons
Ingredients
- 2 ½ cups (300g) Bread flour
- 1 ½ tsp (7g) kosher salt
- 2 ½ tbsp (35g) sugar
- 1 ⅝ tsp (6g) active dry yeast
- ¾ cup (177ml) vegan milk, milk should be warm not hot (105°-110°F)
- 3 tbsp (45g) vegan butter, softened and cut into pieces see Note 1
- 1 large (50g) egg, beaten, ½ for the dough, ½ for egg wash
Instructions
Make the dough
- In the bowl of a stand mixer, whisk together the yeast, 1 tbsp sugar and the warm milk. Cover and let bloom for 5 mins. It should look foamy.
- In a separate bowl, combine flour, salt and remaining sugar.
- To the foamy yeast mixture, add ½ or about 2 tbsp of the beaten egg (reserve the rest to brush the rolls before baking) and the flour mixture. With the dough hook attachment, mix on medium low speed until the dough is shaggy, about 2-3 minutes. While the mixer is running, add the butter one piece at a time, making sure it’s incorporated before adding the next. The dough will look moist and slippery until it’s all incorporated and fully kneaded. Do not add any extra flour here! Increase the speed to medium and knead until the dough comes together smoothly and pulls away from the bowl, about 8 minutes. See Note 2.
- Remove the dough from the bowl. Lightly grease the same bowl or a different one, and place the dough it it. Cover with plastic wrap or a damp kitchen towel, and let it rise in a warm area until it’s doubled in size and puffy, about 1 ½ hours. I place mine in the oven with the ‘proof’ function and the oven light on.
- Meanwhile, grease and 8 x 8-inch baking pan with vegan butter.
Shape the rolls
- When the dough is done, gently deflate it, then use a plastic scraper to ease it out of the bowl onto your work surface. Lightly grease your hands and knead the dough for an additional 1-2 minutes to get the extra air out. Optionally, you can skip the extra kneading and go straight to dividing and shaping.
- Using a bench scraper, divide the dough into 9 – 12 equal pieces. Then shape each piece into a smooth ball and arrange in the greased baking pan. See the video above for demonstration.
- Cover the rolls with plastic wrap or clean kitchen towel and allow to proof/rise for about 1 hour.
- In the last 15-20 minutes of proofing, set your oven rack to the position below the middle and preheat your oven to 350°F (177°C).
Bake the rolls
- When rolls are ready, remove plastic wrap and with a silicone or pastry brush, lightly brush the top of each roll with remaining beaten egg.
- Bake the rolls for 22 – 25 minutes or until they are golden brown on top and slightly browned every where else. Remove from the oven and brush with butter. Let rolls cool for 5 minutes before removing to a cooling rack.
- Place rolls in an covered container and store at room temperature for 2-3 days. See Note 3
Notes
- Softened dairy free butter is preferred to room temperature butter because at room temperature – especially if you’re kitchen is warm – it is closer to being melted.
- The dough will look wet and slippery when you begin incorporating the butter. This is normal for using dairy free butter. DO NOT add any extra flour! If after 8 minutes of kneading the dough is still spread out and extremely sticky, it needs more time to come together. You can knead for an additional 2-5 minutes until it comes together and pulls away from the bowl OR add 1 tsp of flour at a time, until it does.
- I’ve never had them last more than 3 days or long enough to freeze them so I don’t have freezing instructions for you.